How Tips for Installing Crown Molding in Layers - The Honeycomb can Save You Time, Stress, and Money.


How to Install Crown Molding - how-tos - DIY
Not known Facts About How Much Does Crown Molding Cost? - Florida Lumber
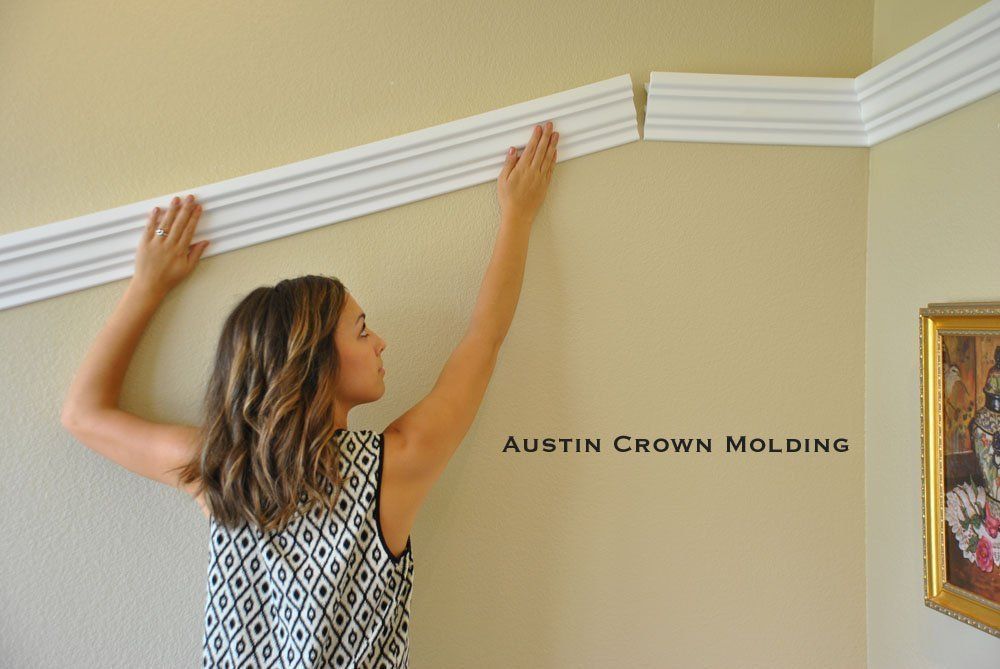
Built-up Crown, Although crown molding is normally installed alone, you can quickly combine it with other trim for a larger, richer look. The stock trim readily available at any home center offers dozens of possibilities. You could combine more pieces than we reveal here or use contrasting woods for a two-tone impact.
Select a style that's compatible with your existing trim. A crown that extends more than 5 in. onto the wall or ceiling may be too dominant or heavy looking in a room with an 8-ft. ceiling. Aside from design, built-up DIY crown molding has this huge benefit: It removes nailing aggravations.
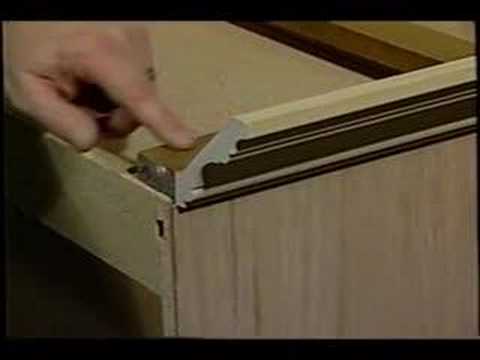
In other areas, you have to add nailing blocks or utilize glue (which typically makes a mess or can't form a strong bond on the narrow edge of the crown molding). With built-up crown, you deal with these difficulty spots more easily when you install the rail trim. Then, when you install the crown molding, you have strong, continuous base to nail into.
Conventional lumberyards typically have the largest choice and normally have totally free samples on hand. At a home center, you might need to purchase brief pieces to develop your sample.
Affordable Foam Crown Molding - Made in USA
The Single Strategy To Use For Beginner's Guide to Installing Crown Molding - Mother Earth
For a within corner cut, the bottom edge will be long and the leading edge will be brief. On the left side of a within corner, the cut will angle approximately the left. On the ideal side of an inside corner, the cut will angle as much as the right.
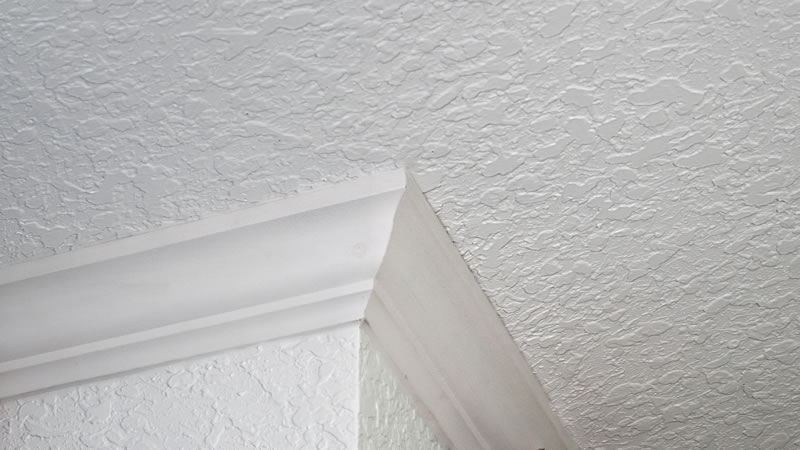
The hardest part of setting up crown molding is cutting the corners. You can't do it like any other trim pieces due to the fact that the molding sits at an angle between the wall and the ceiling (Image 1). Using a coping saw (Image 2) is the simplest way to cut the corners since a coped joint is tighter than a mitered joint.
Any gap in a coped cut can be easily hidden with a little bit of caulk. Another tool that will make the task much easier is a power miter saw (Image 3). This Is Cool and makes a cleaner cut than a plastic miter box.